Dal Khichdi Recipe | Moong Dal Khichdi Recipe Made With Loaded Vegetables | Healthy Recipe
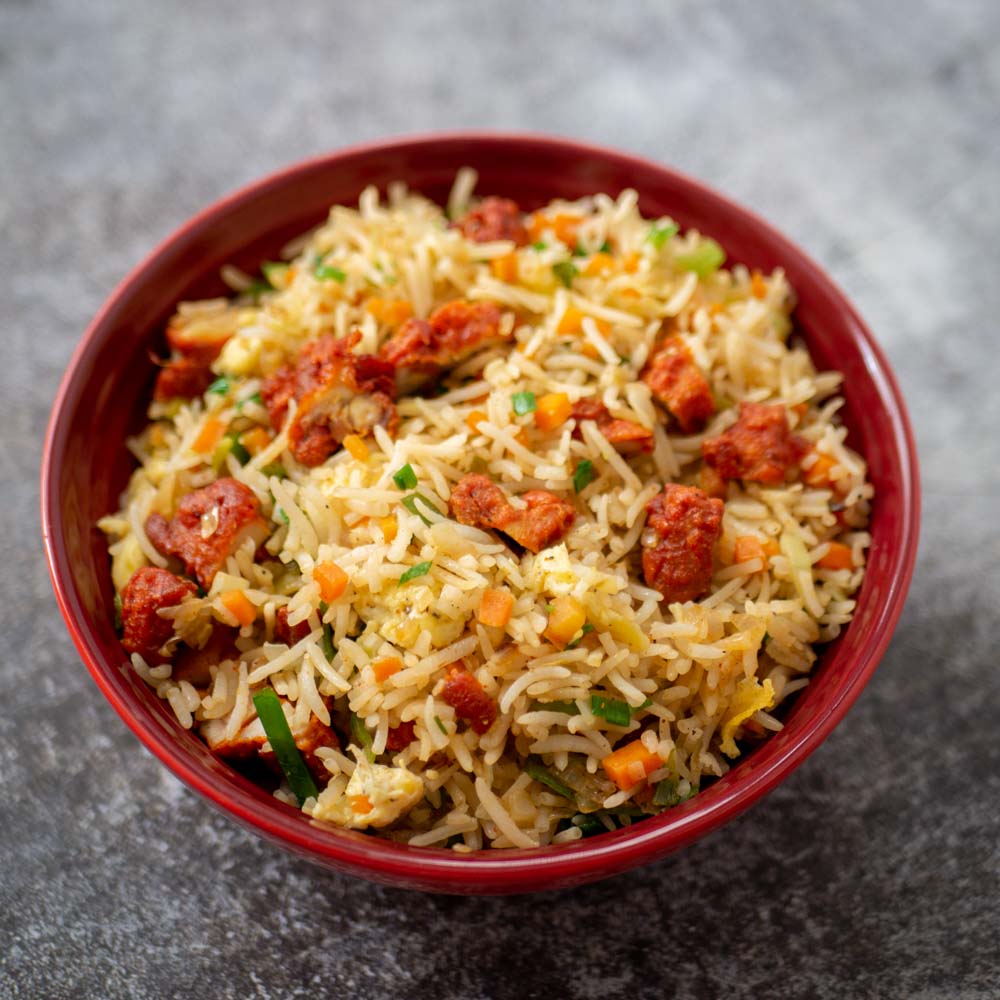
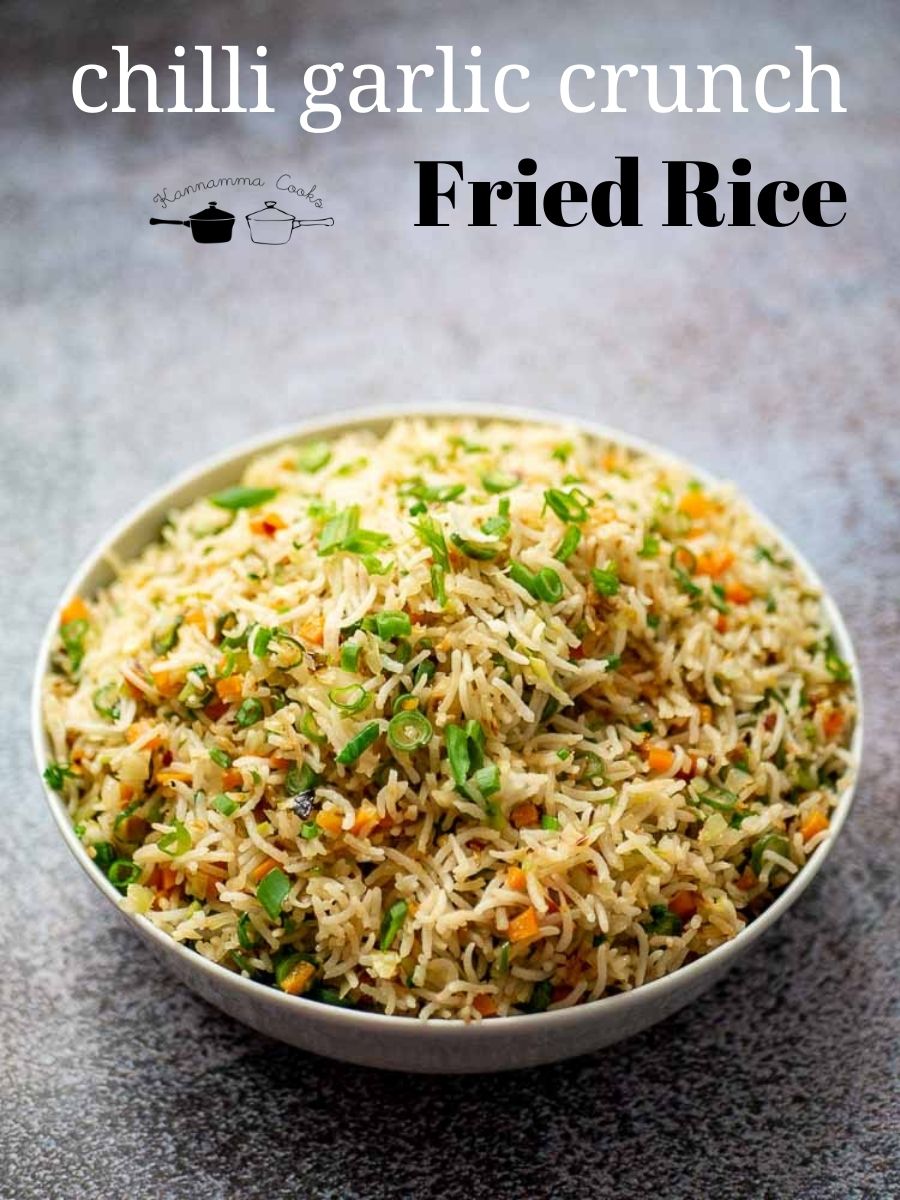
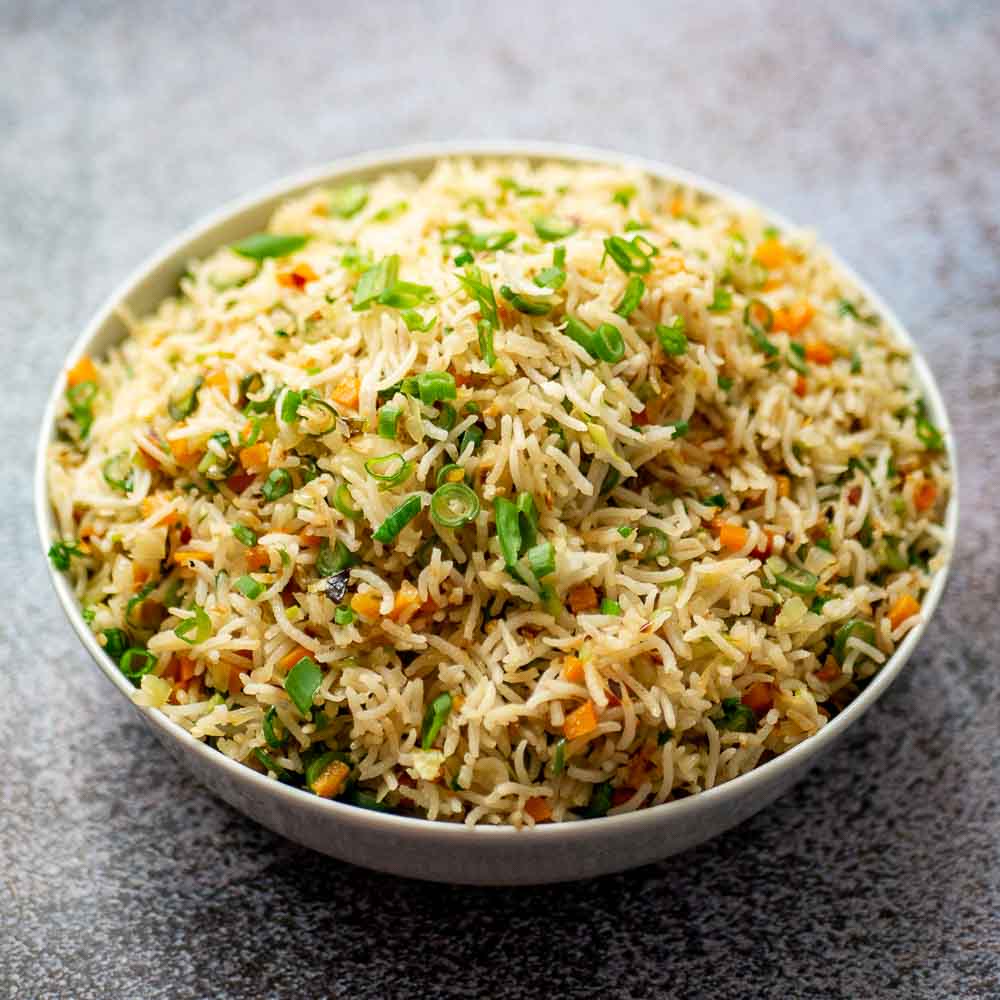
Recipe for Dal Khichdi made with moong dal, rice and loaded vegetables. A healthy one pot dish that’s best for a quick lunch and perfect to make if you do not have a lot of time. You do not need to make any side dishes for this recipe. It can be served with appalam , chips or a spicy omelette. This is one of my go to dishes for a busy day.
Dal Khichdi is my answer to a healthy meal if you are hard pressed for time. I load the khichdi with a lot of colourful veggies so you get to eat your everyday dose of rainbow. You can add as much or as little vegetables depending on your taste. This is a very good way to effortlessly add veggies. The final tempering with shallots and garlic makes the khichdi very aromatic.
I made the khichdi today using basmati rice. Raw rice can also be used for making the recipe. Make sure to use the same amount of rice and dal. Equal quantity of rice and dal makes the khichdi very rich and very filling. The kind of vegetables to use is totally up to you. I generally use vegetables like carrots, beans, green peas, potatoes, chow chow, cauliflower, spinach etc…
Here are some of the things you can buy online
Basmati Rice https://amzn.to/3C4T6PV
Moong Dal https://amzn.to/3n67zHl
Pressure Cooker https://amzn.to/30j0wCt
Here is the video of how to make Dal Khichdi

Dal Khichdi Recipe | Moong Dal Khichdi Recipe
-
![]() Total Time: 30m
Total Time: 30m -
![]() Yield: 3 servings
Yield: 3 servings
Description
Dal Khichdi Recipe | Moong Dal Khichdi Recipe Made With Loaded Vegetables | Healthy Recipe
Ingredients
Main Ingredients
1/2 cup basmati rice
1/2 cup split yellow moong dal
1.5 tablespoon peanut oil
4 cloves garlic, finely minced
1 inch ginger, finely minced
1/2 cup onion, finely chopped
2 green chillies, chopped
2 tomatoes, chopped
1 teaspoon salt
1/4 teaspoon red chilli powder
1/4 teaspoon turmeric powder
3 cups mixed vegetables
3 cups water
1/2 cup hot water or more (if needed) at the end
Tempering the dal
2 teaspoon ghee
1/4 teaspoon cumin seeds
2 cloves garlic, sliced
5 Indian shallots, sliced
1 sprig curry leaves
Instructions
Wash and soak the rice and dal for about 20-30 minutes.
Heat oil in a pressure cooker. Add in the finely chopped ginger and garlic. Saute for a minute. Add in the finely chopped onions. Saute for a couple of minutes till the onions are soft. No need to brown the onions.
Add in the green chillies, tomatoes, salt, red chilli powder and turmeric powder. Saute till the tomatoes are mushy.
Add in the vegetables and mix well to combine. Add in the 3 cups of water. Add in the soaked and drained dal and rice.
Cover the pressure cooker and cook for 5 whistles. Allow the pressure from the cooker to settle before opening.
Mix the khichdi well. If the khichdi is thick, dilute it with a little hot water to the consistency you like.
Tempering: Heat ghee in a small kadai. Add in the cumin seeds, sliced garlic and sliced shallots. Add in the curry leaves. Saute on a low flame till the shallots are nice and golden.
Top the khichdi with the tempering.
Serve hot with chips, appalam or omelette.
![]() Prep Time: 10m
Prep Time: 10m![]() Cook Time: 20m
Cook Time: 20m
Keywords: Dal Khichdi
The post Dal Khichdi Recipe with Veggies appeared first on Kannamma Cooks.